

Digital Dashboard - Part 1
This guide is broken into two parts. This part is about how to mount your tv and sound bar to have a clean wire-free look to it. In Part 2 I show you how to setup your raspberry pi as a digital dashboard.
If you have any questions, reddit is the best place right now for help from myself or others.

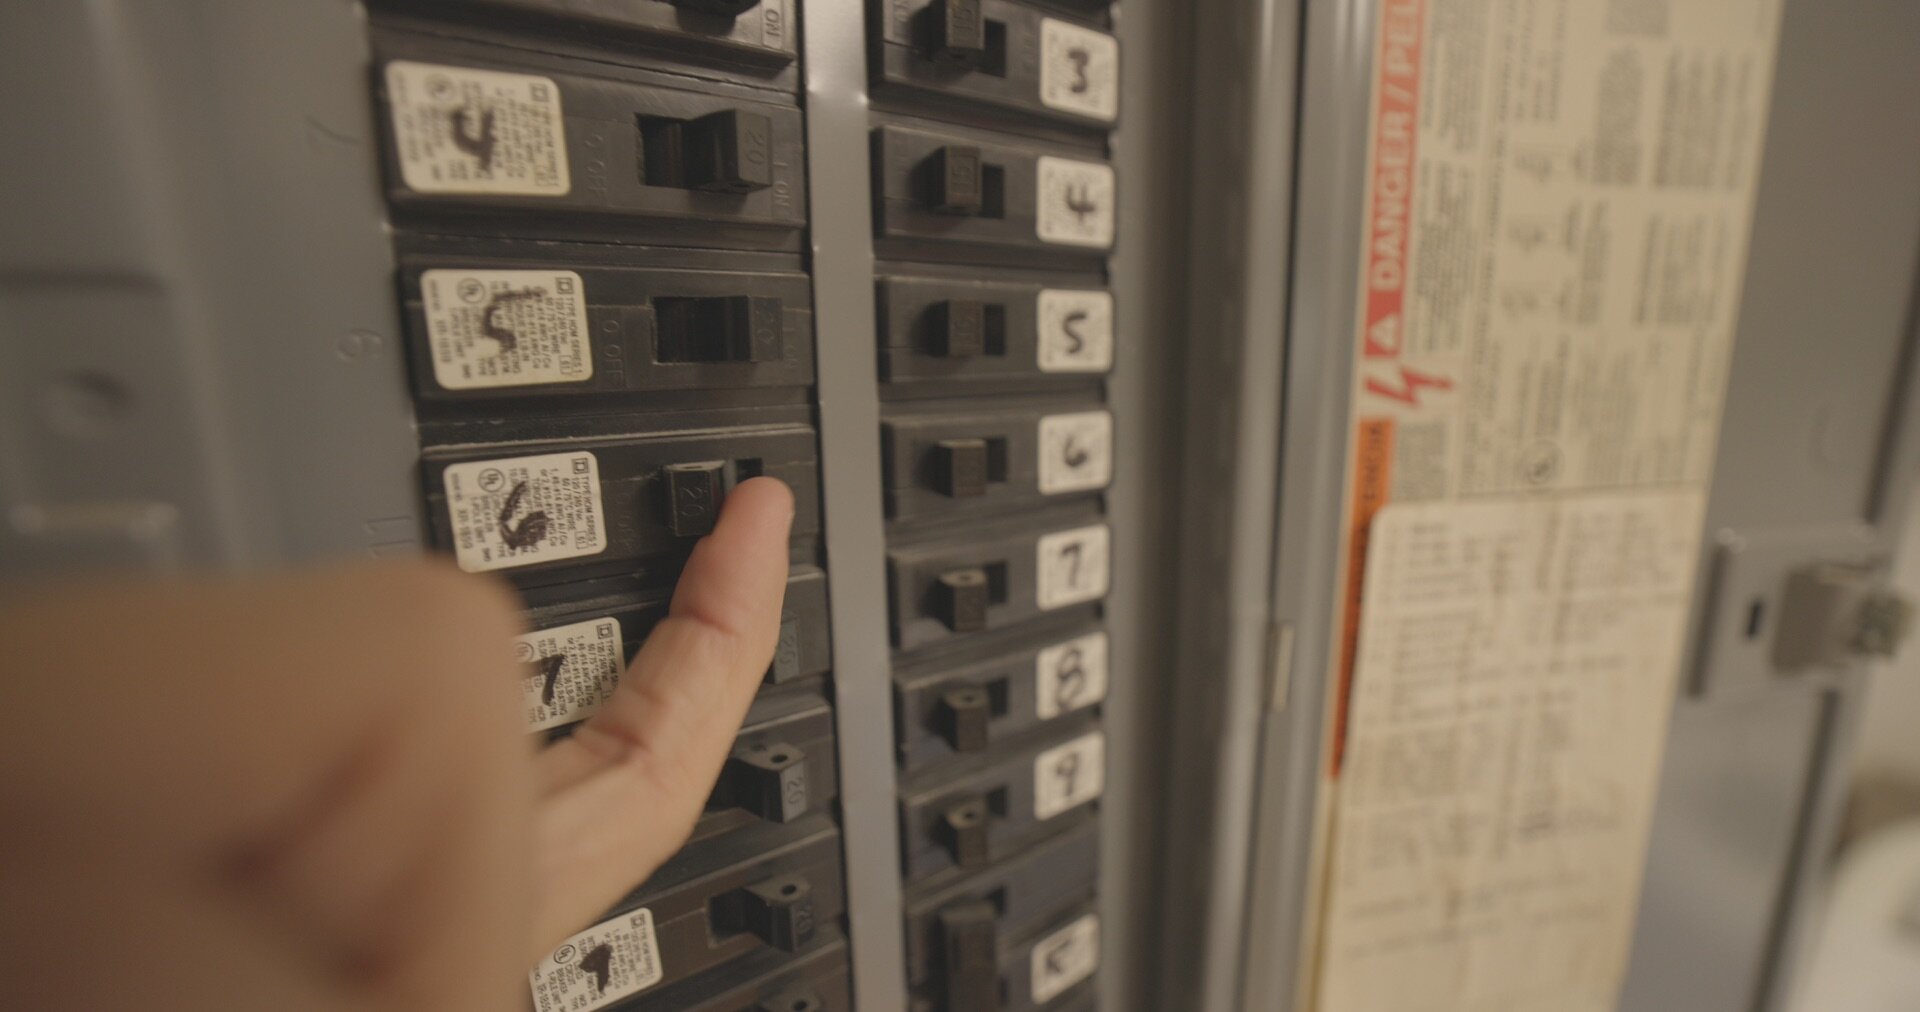
Turn off breaker

2. Find the stud where you want to hang the TV. It must be near a power outlet.

This stud finder is nice that is makes it easy to find the center of the stud.

3. Find out which side of the stud the outlet is on. Making certain there won’t be a stud preventing you from adding power to your TV.

These lines illustrate where the studs are in my wall. Since the outlet is on the left side of the stud, I can add an outlet on the same side.
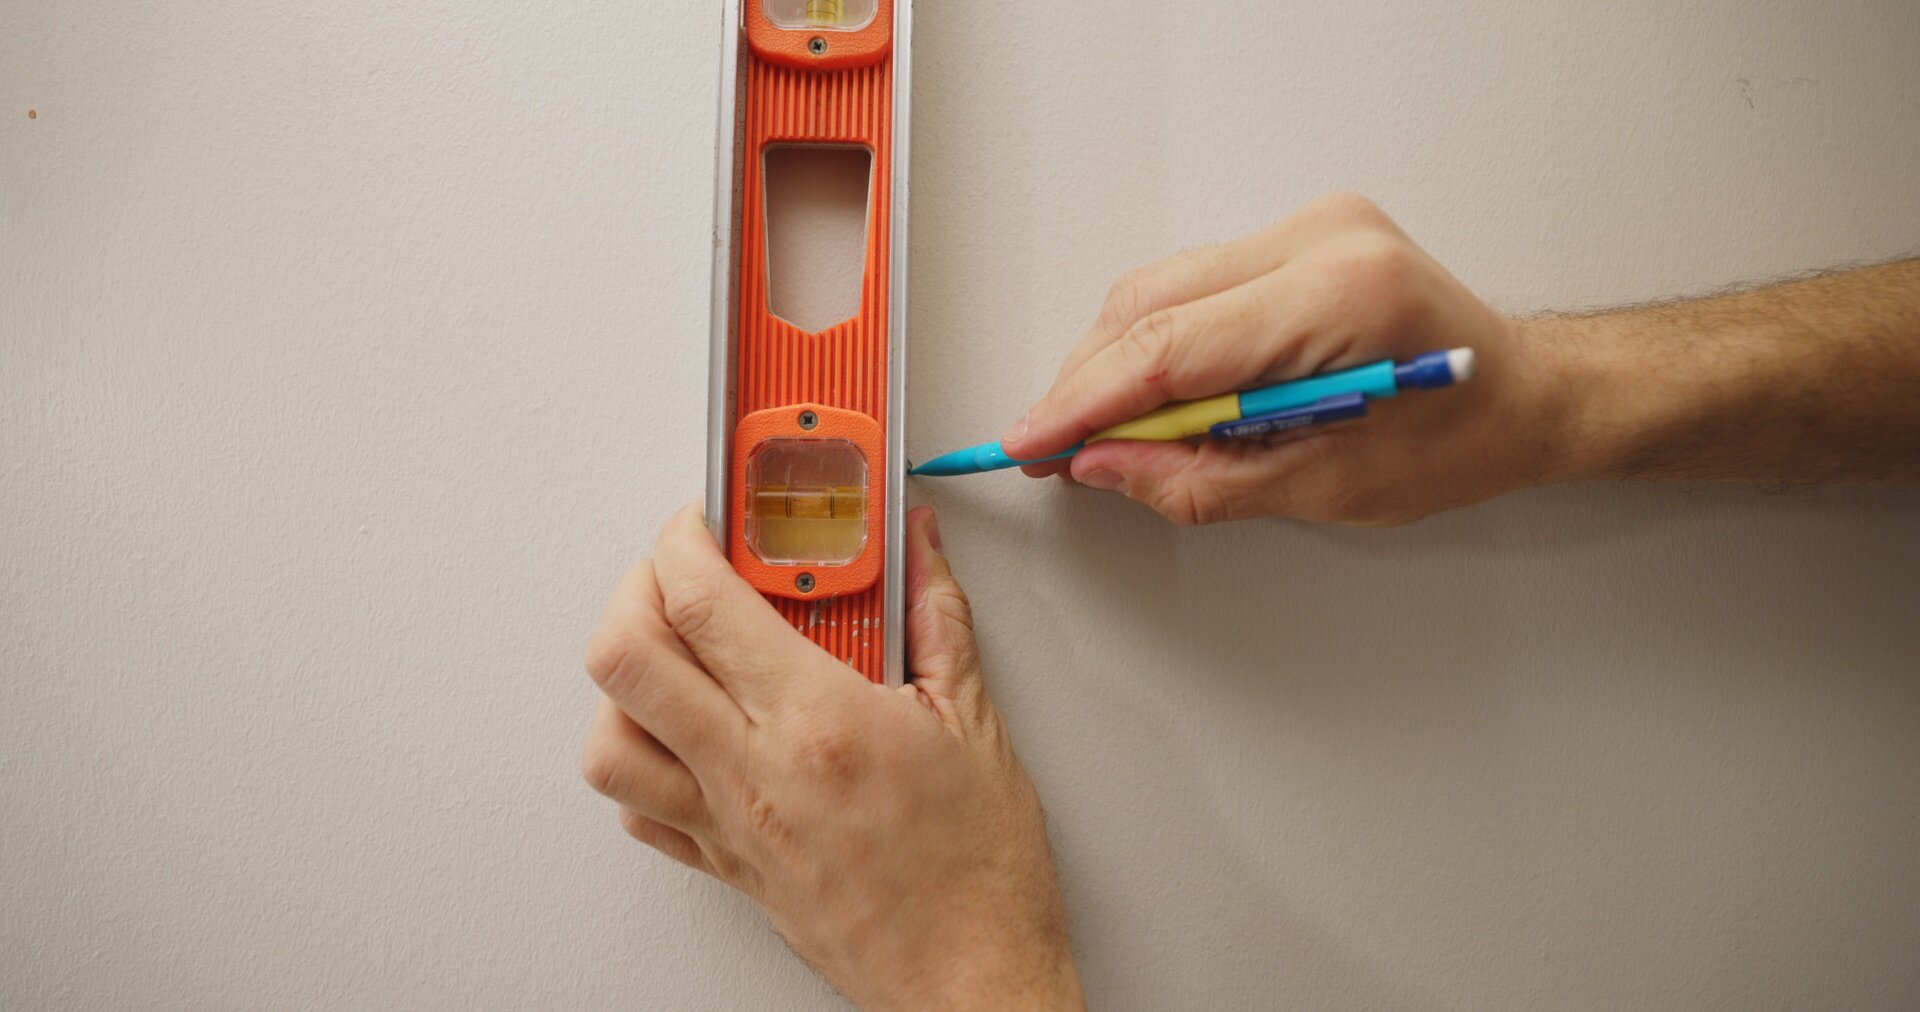
4. Draw a line on the center of the stud where you will hang the TV Mount.

5. Make a mark where you will drill the hole for the top screw mount.

6. Drill a pilot hole.

7. Screw in the provided screw. Mine is large enough to use a socket and ratchet.
8. Drill pilot hole for bottom screw, making sure to use the line you drew as a guide.
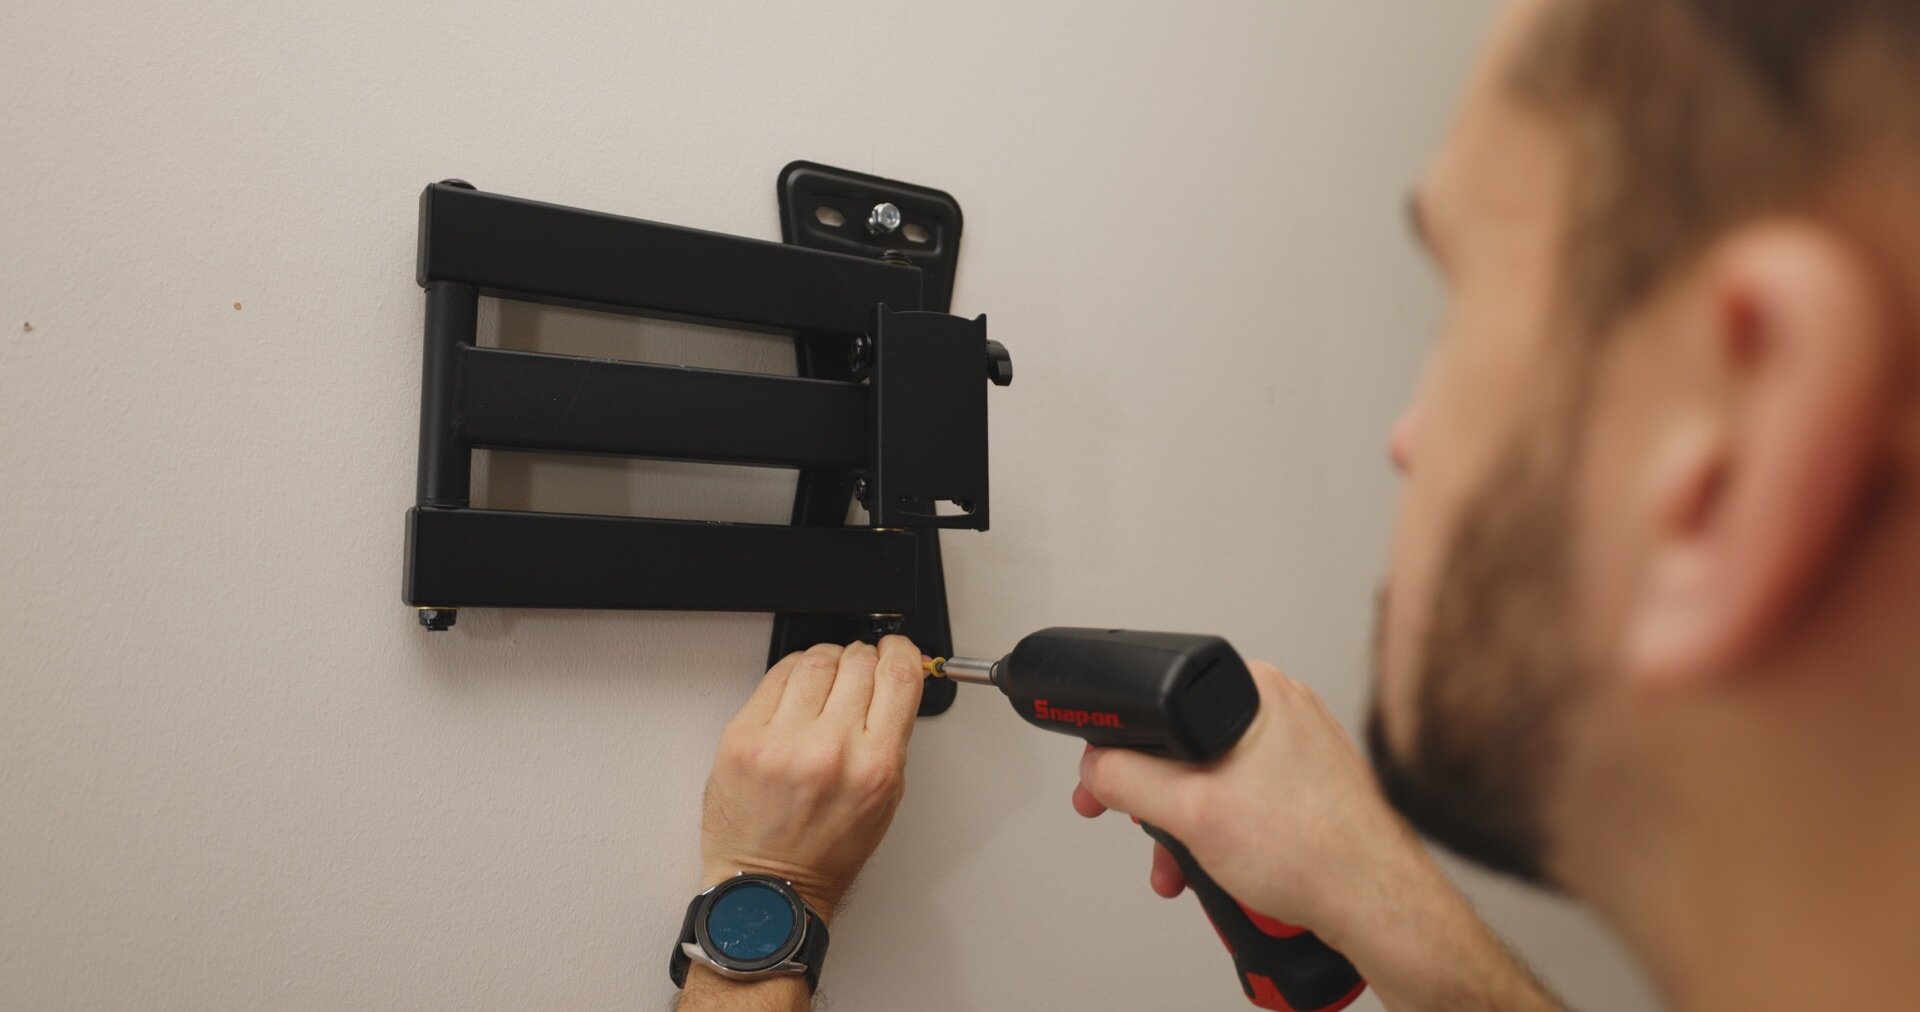
9. Tighten the top and bottom screw.

10. Repeat these steps for the middle screw.

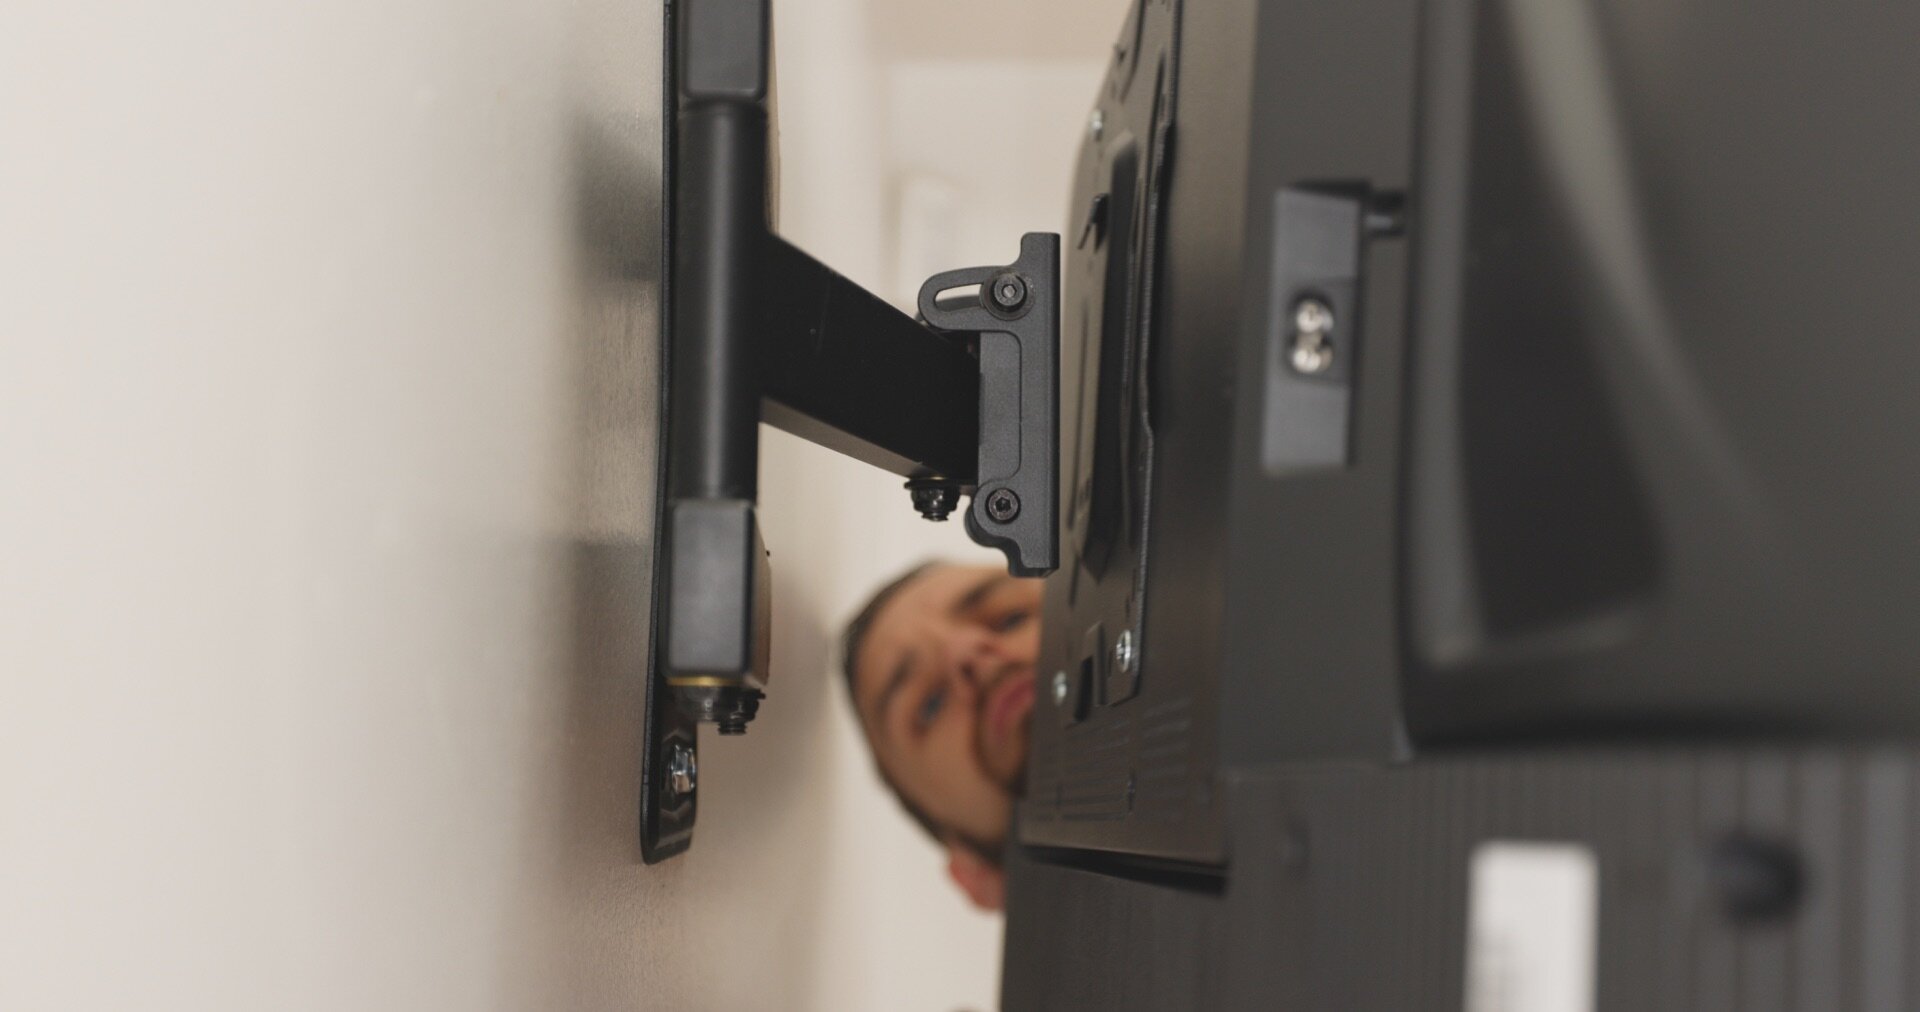
11. Locate the mounting holes on the back of your TV.

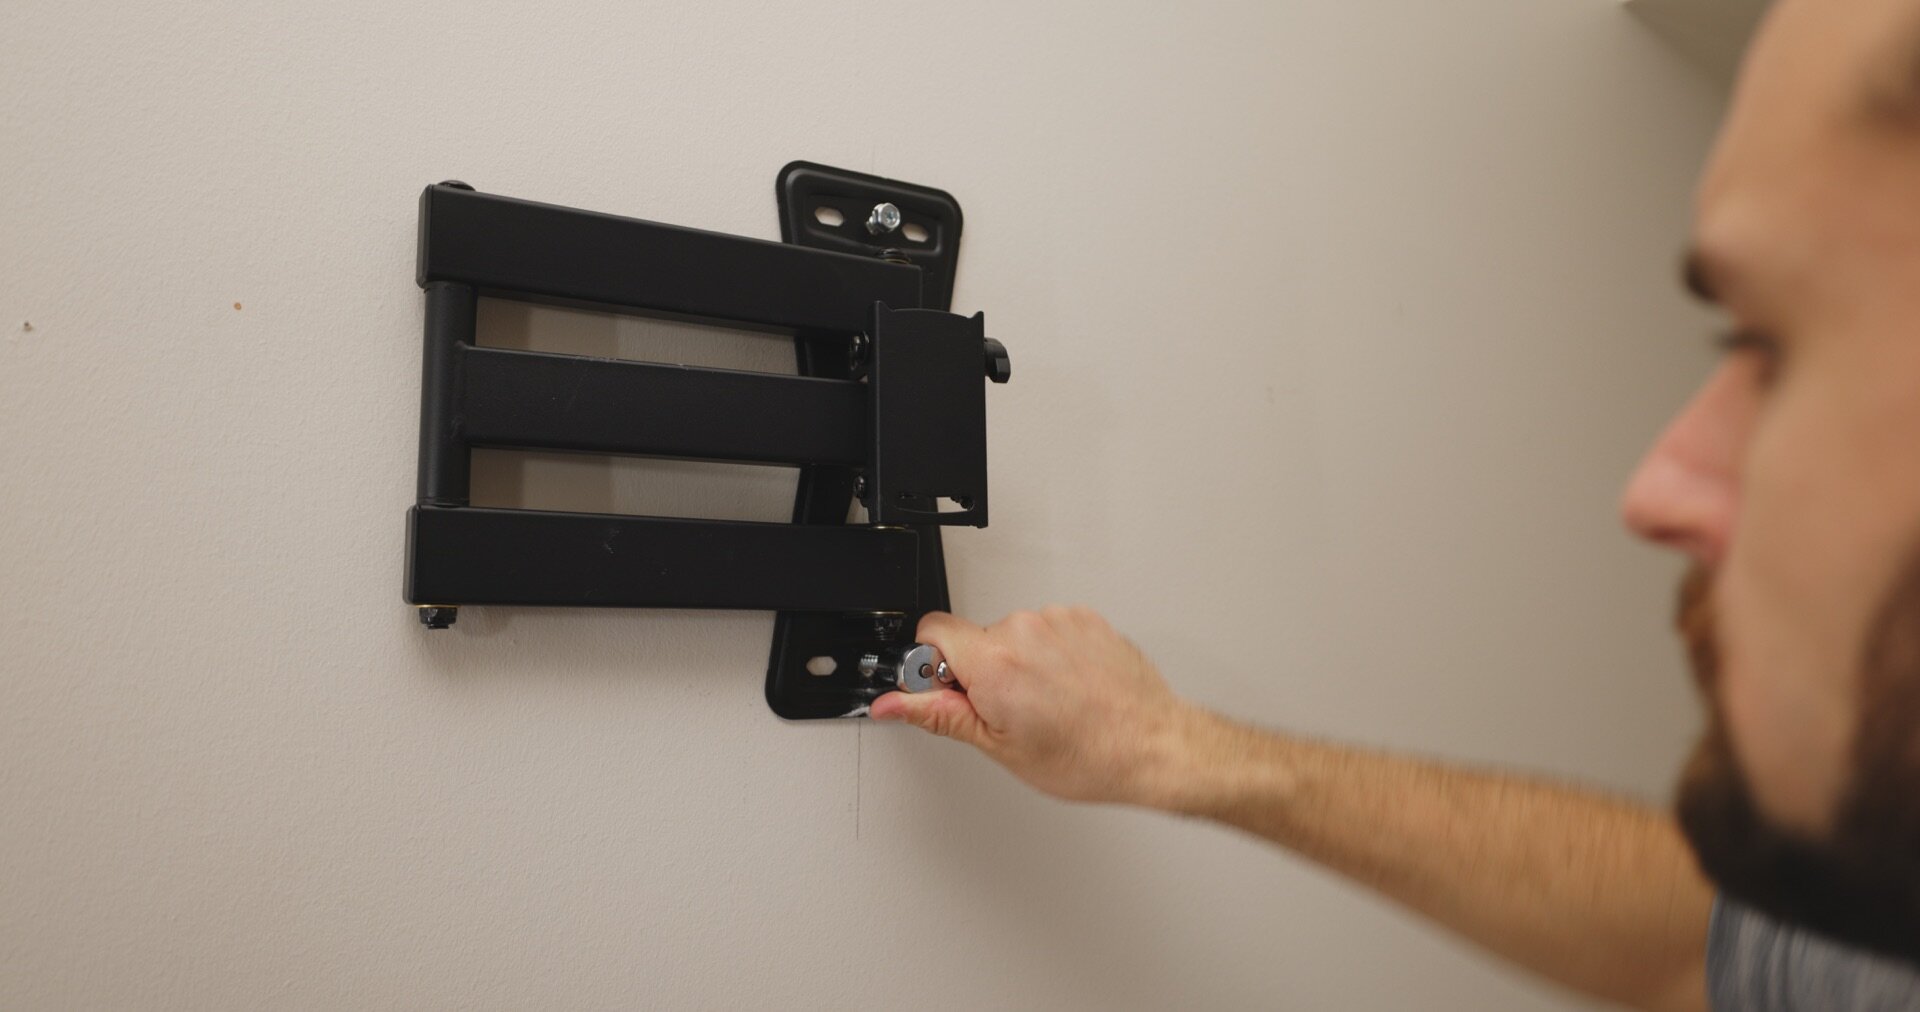
12. Attach the mounting bracket, making certain not to over-tighten. YOU CAN DAMAGE YOU TV

Now is a good time to erase your line you used to mark for the wall mount, just make sure not to erase all of the line at the bottom (this will be helpful for mounting the sound bar)
13. Mount the TV on the wall mount, this will be easier with a friend.

14. This Mount has 2 screws that are used to keep the TV Level and secure it from falling.

Make sure the TV is level before you tighten.

15. Using your line from the center of your wall mount as a guide, hang the template for your sound bar.

Make sure your template is level before you tape it to the wall.
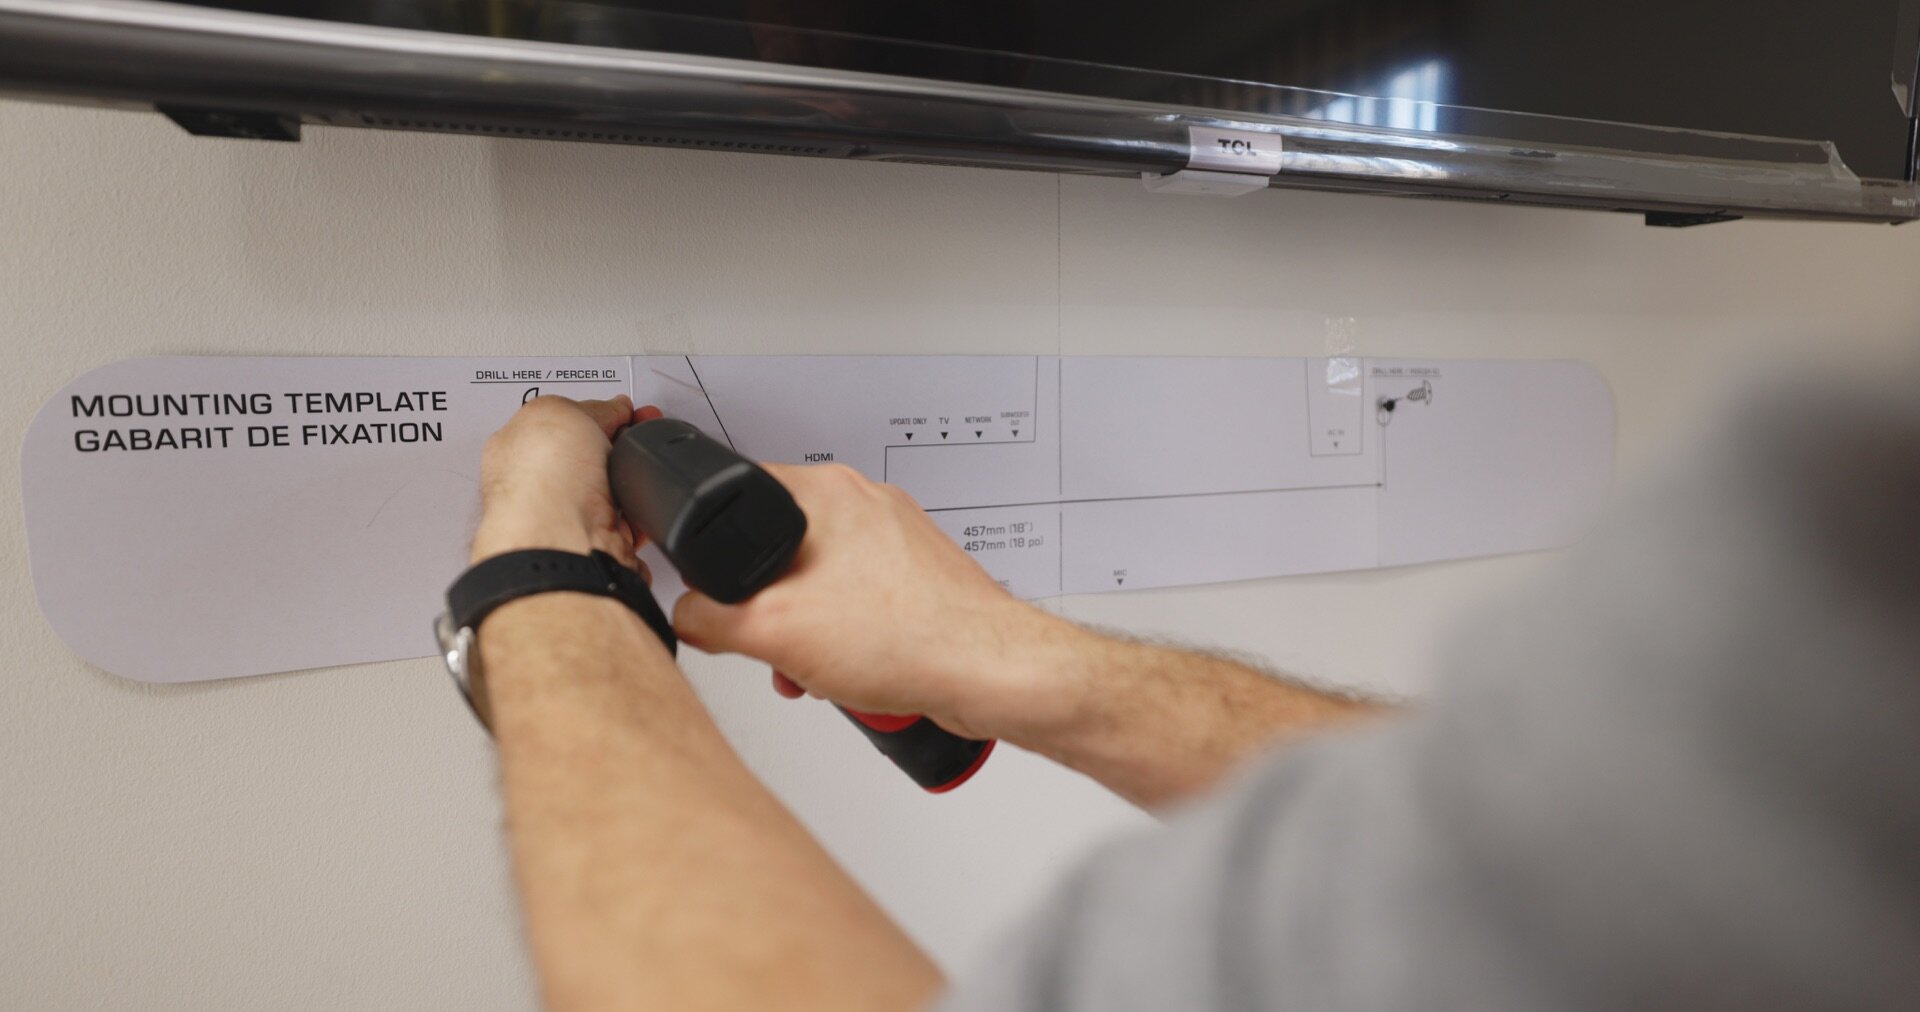
16. Drill your pilot holes in the marked area on your template. Then use the plastic drywall anchors and attached the provided screws.

17. Mount sound bar and draw a line marking the top and bottom of the sound bar as well as a mark for where you need a power outlet and where the audio cable connect to the sound bar (this will be helpful in making sure our outlets aren't visible)

18. Find the stud with the power running next to it and make sure your new power outlet isn't going to overlap the stud but close enough to draw the power from it.

19. Trace around your gang box.
Helpful tip
DON'T DO WHAT I DID!
Mount the outlets sideways and use a recessed power outlet.

20. I drilled some guide holes to help with cutting the drywall

21. I would recommend a drywall saw, but honestly any decent knife will work.

Your hole doesn't have to be perfect but try to stay close to your line
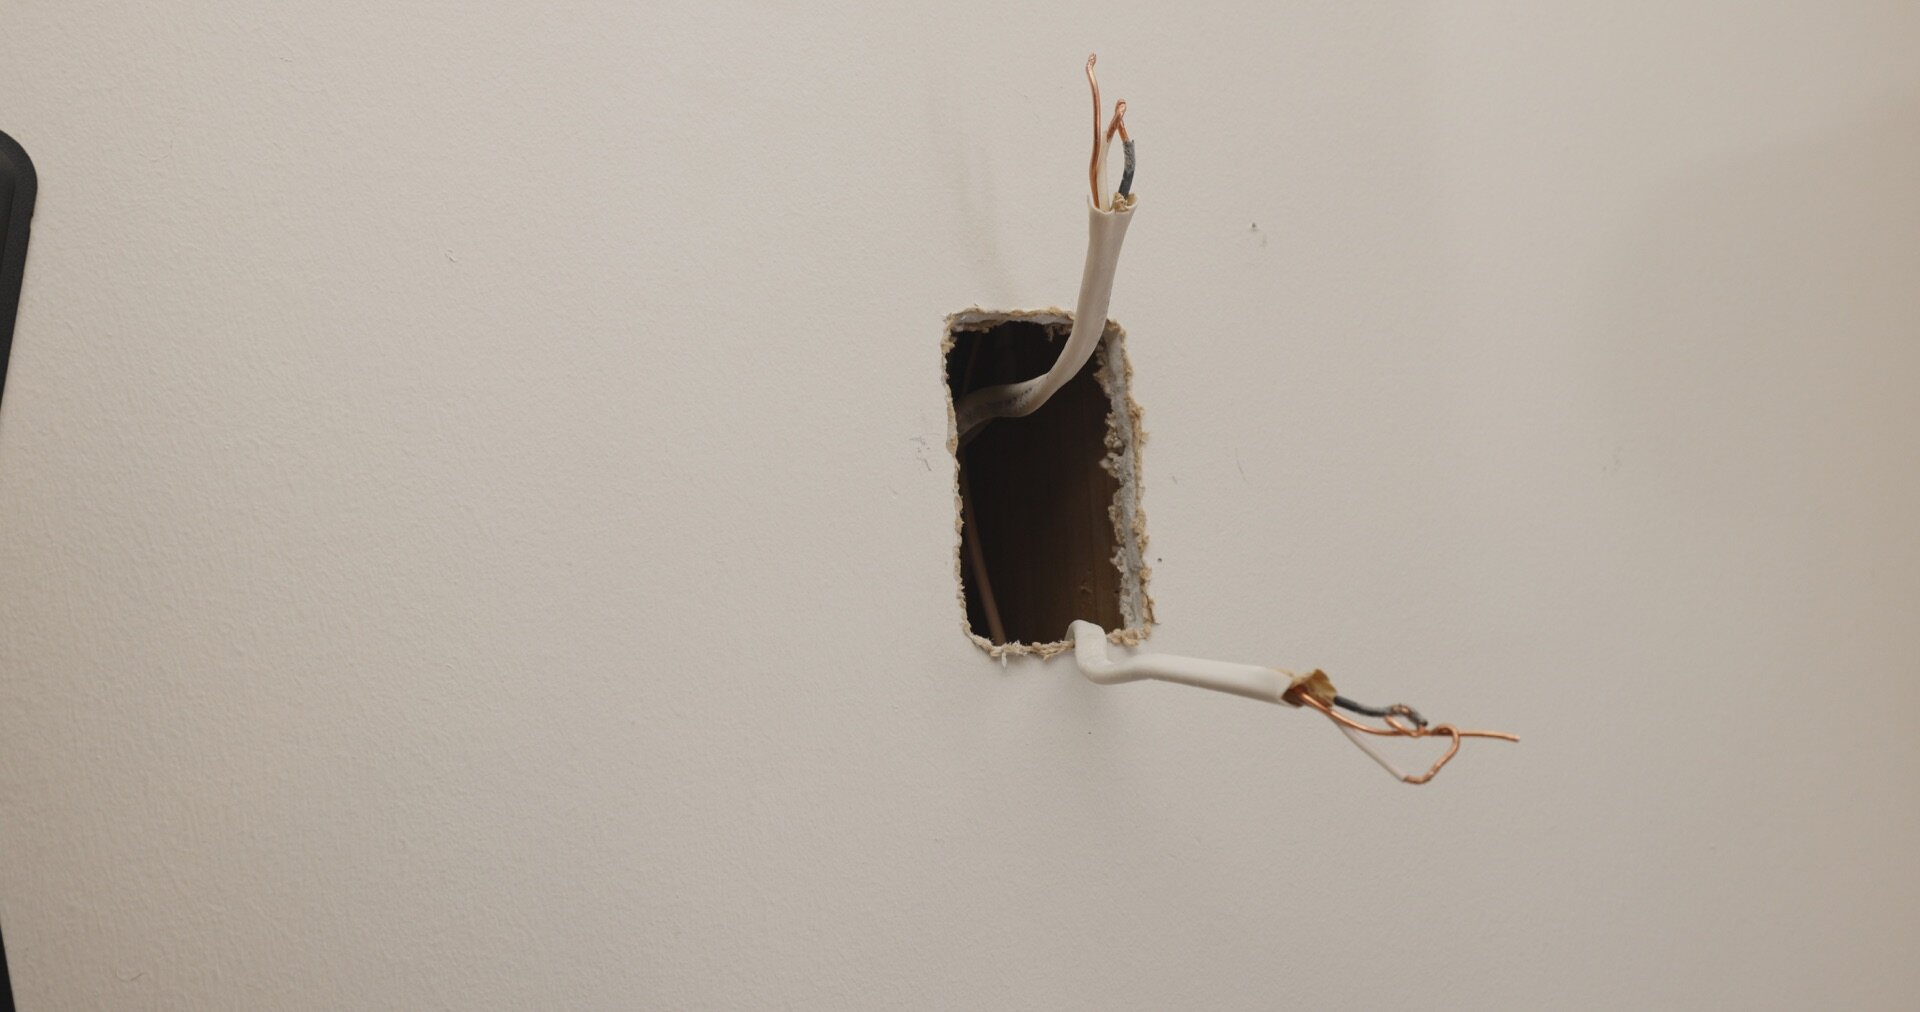
22. I then cut the hole for the power to the TV, once again, staying on the proper side of the stud. (And we are certain we still turned off the breaker?)
THIS IS THE MOST DANGEROUS PART, SO IF YOU DON'T KNOW WHAT YOU ARE DOING, HIRE A PROFESSIONAL. I DON'T WANT ANYONE TO GET HURT OR BURN THEIR HOUSE DOWN. I TAKE NO RESPONSIBILITY IF YOU MESS THIS PART UP.
I then cut the Romex cable between the sound bar and the TV, making sure to give myself plenty of slack on both ends
run a new Romex extension between the two cut wires (be sure to match the gauge and style of your Romex wire)

23. Connect both new outlets making certain our wiring is safe and correct.

24. Cut a hole for a Passthrough Plate near the TV and near the audio input for sound bar (making sure these are not crossing over a stud).
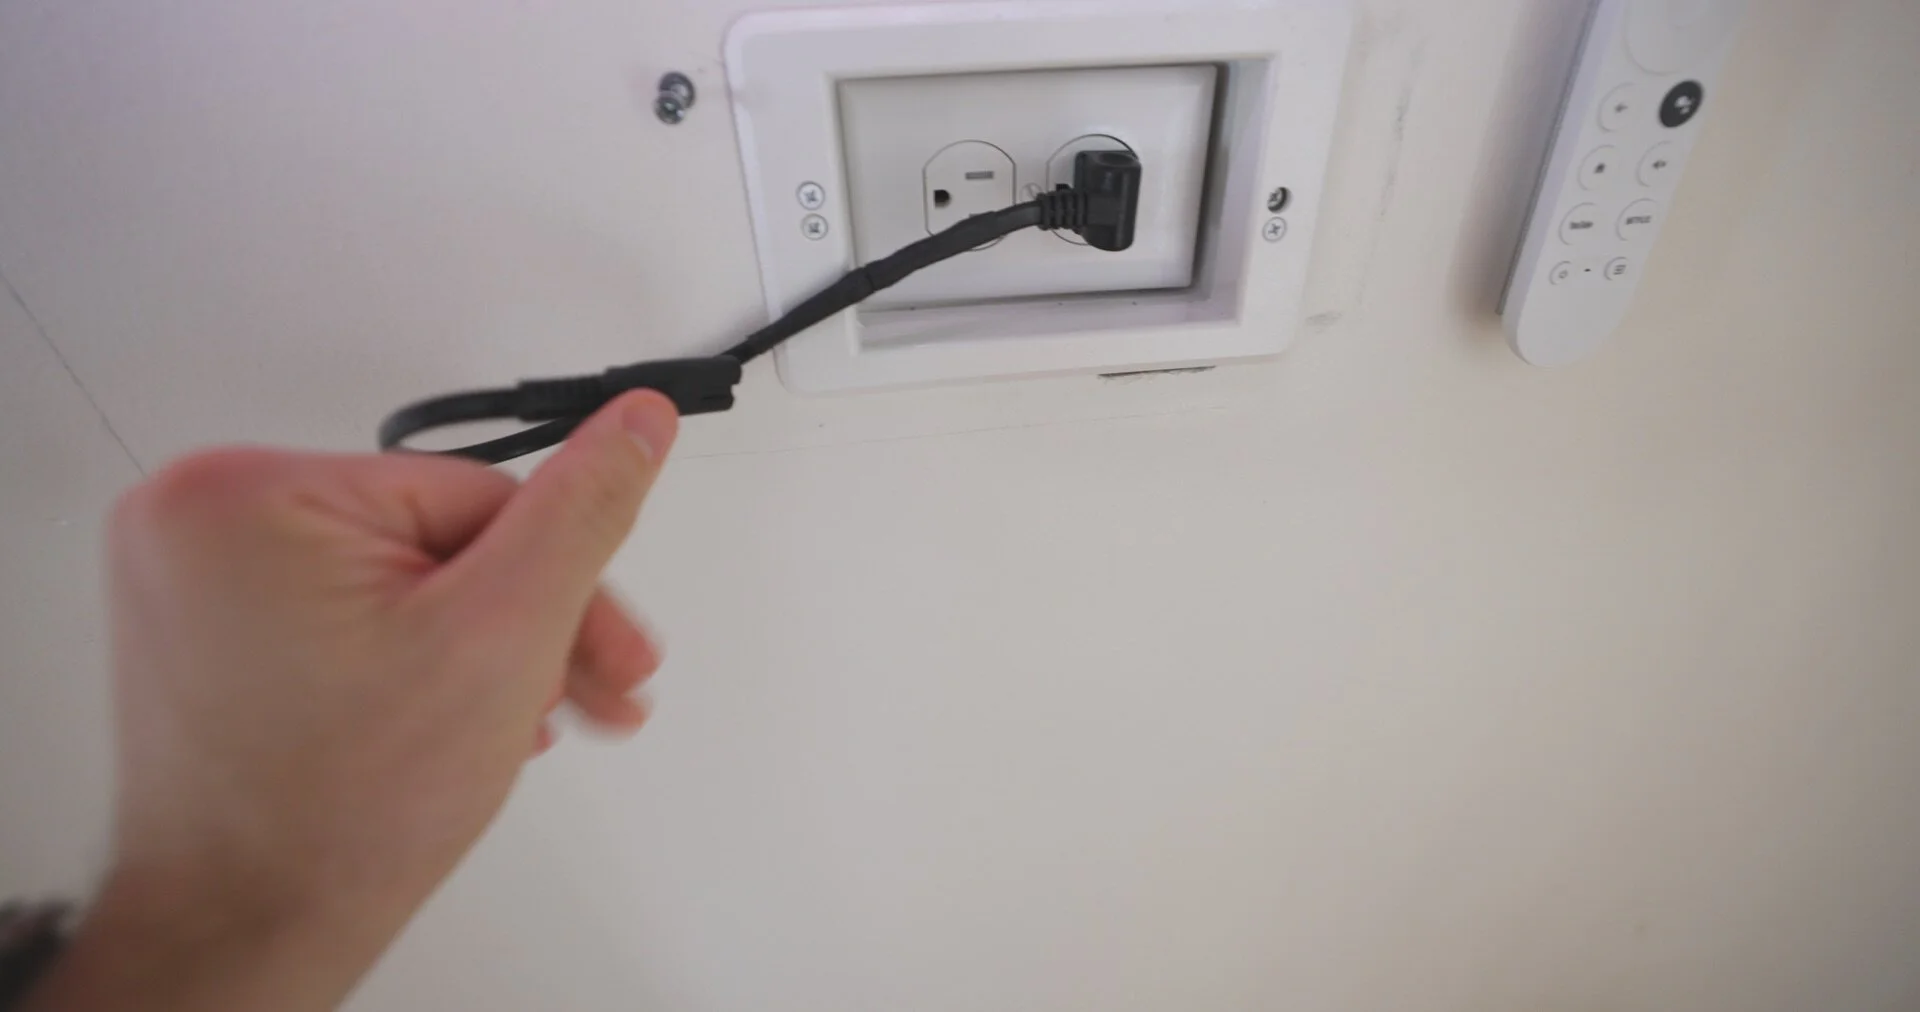
25. Cut sound bar power cable to desired length (I attached a right angle power connecter, but this is not required).

26. Attached LED lights, Google TV, Raspberry Pi, and power supply.

27. Turn breaker back on and make certain all wiring is correct before connecting anything.

28. Mount TV and make sure to tighten the two mounting screws. Connect power supply and connect audio cable to sound bar.
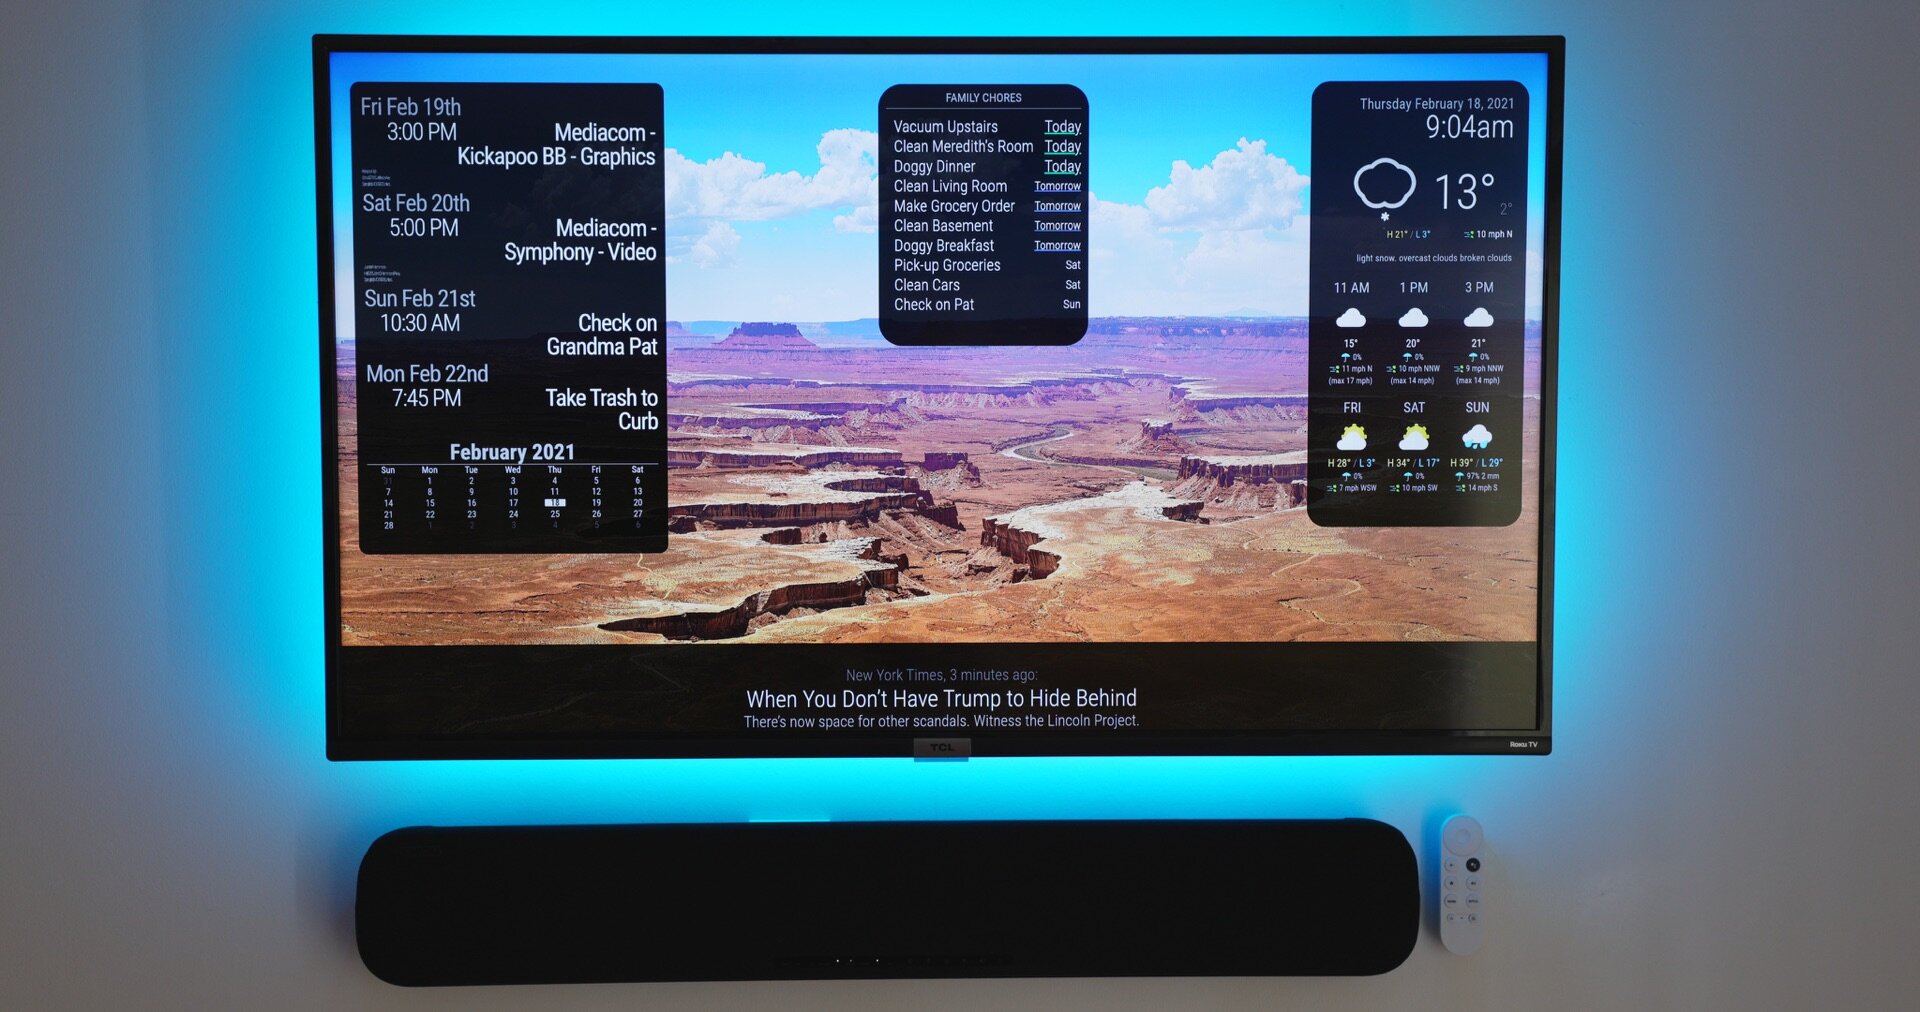
29. Part 2 will help with setting Raspberry Pi as a dashboard.