

Using Google Displays and Home Assistant with C.A.T.T. (Cast All The Things)
Before you get started, I just wanted to warn you that you can lock yourself out of your Home Assistant server if you do not set up everything properly.
You first need to know your WiFi lan address (or specifically your Home Assistant LAN address) as well as your Home Assistant username and password.

Let’s make a full snapshot of our Home Assistant Setup and be sure to download the snapshot.

Then add SSH & Web Terminal from the add-on store.

I turned on everything (start on boot, watchdog, auto update, show in sidebar, and protection mode). When it is added, go to the configuration and add a username and password.

Once SSH & Web Terminal is started, type in ‘pip3 install catt’

Once CATT is installed, type ‘catt scan’ to find all of your chrome cast devices on your network. Take note of the names of your devices. I will be using my kitchen nest hub, which is called “Kitchen display” with a capital “K”.

If you want to see what all CATT can do, type ‘catt -h’

Let’s do a test and type ‘catt -d “name of display” cast_site “name of site”

If everything has worked out so far. Let’s add a new user without administrator permissions.

Go to your file editor and open you configuration.yaml file. Add the following code with your WiFi lan address followed by ‘.0/24”. Make sure your spacing looks like this picture.
# CATT (Cast All The Things)
homeassistant:
auth_providers:
- type: trusted_networks
trusted_networks:
- 192.168.86.0/24
allow_bypass_login: true
- type: homeassistant
This is the step where you might break something, so proceed with cation. Save your configuration file and restart your server. You may have to log back into home assistant.

Copy the url address of a Home Assistant Lovelace dashboard. and then go back to terminal and type ‘catt -d “Cast device” cast_site “Lovelace url”
Your Lovelace url cannot say home assistant.local. It does need to be your Home assistant LAN address.
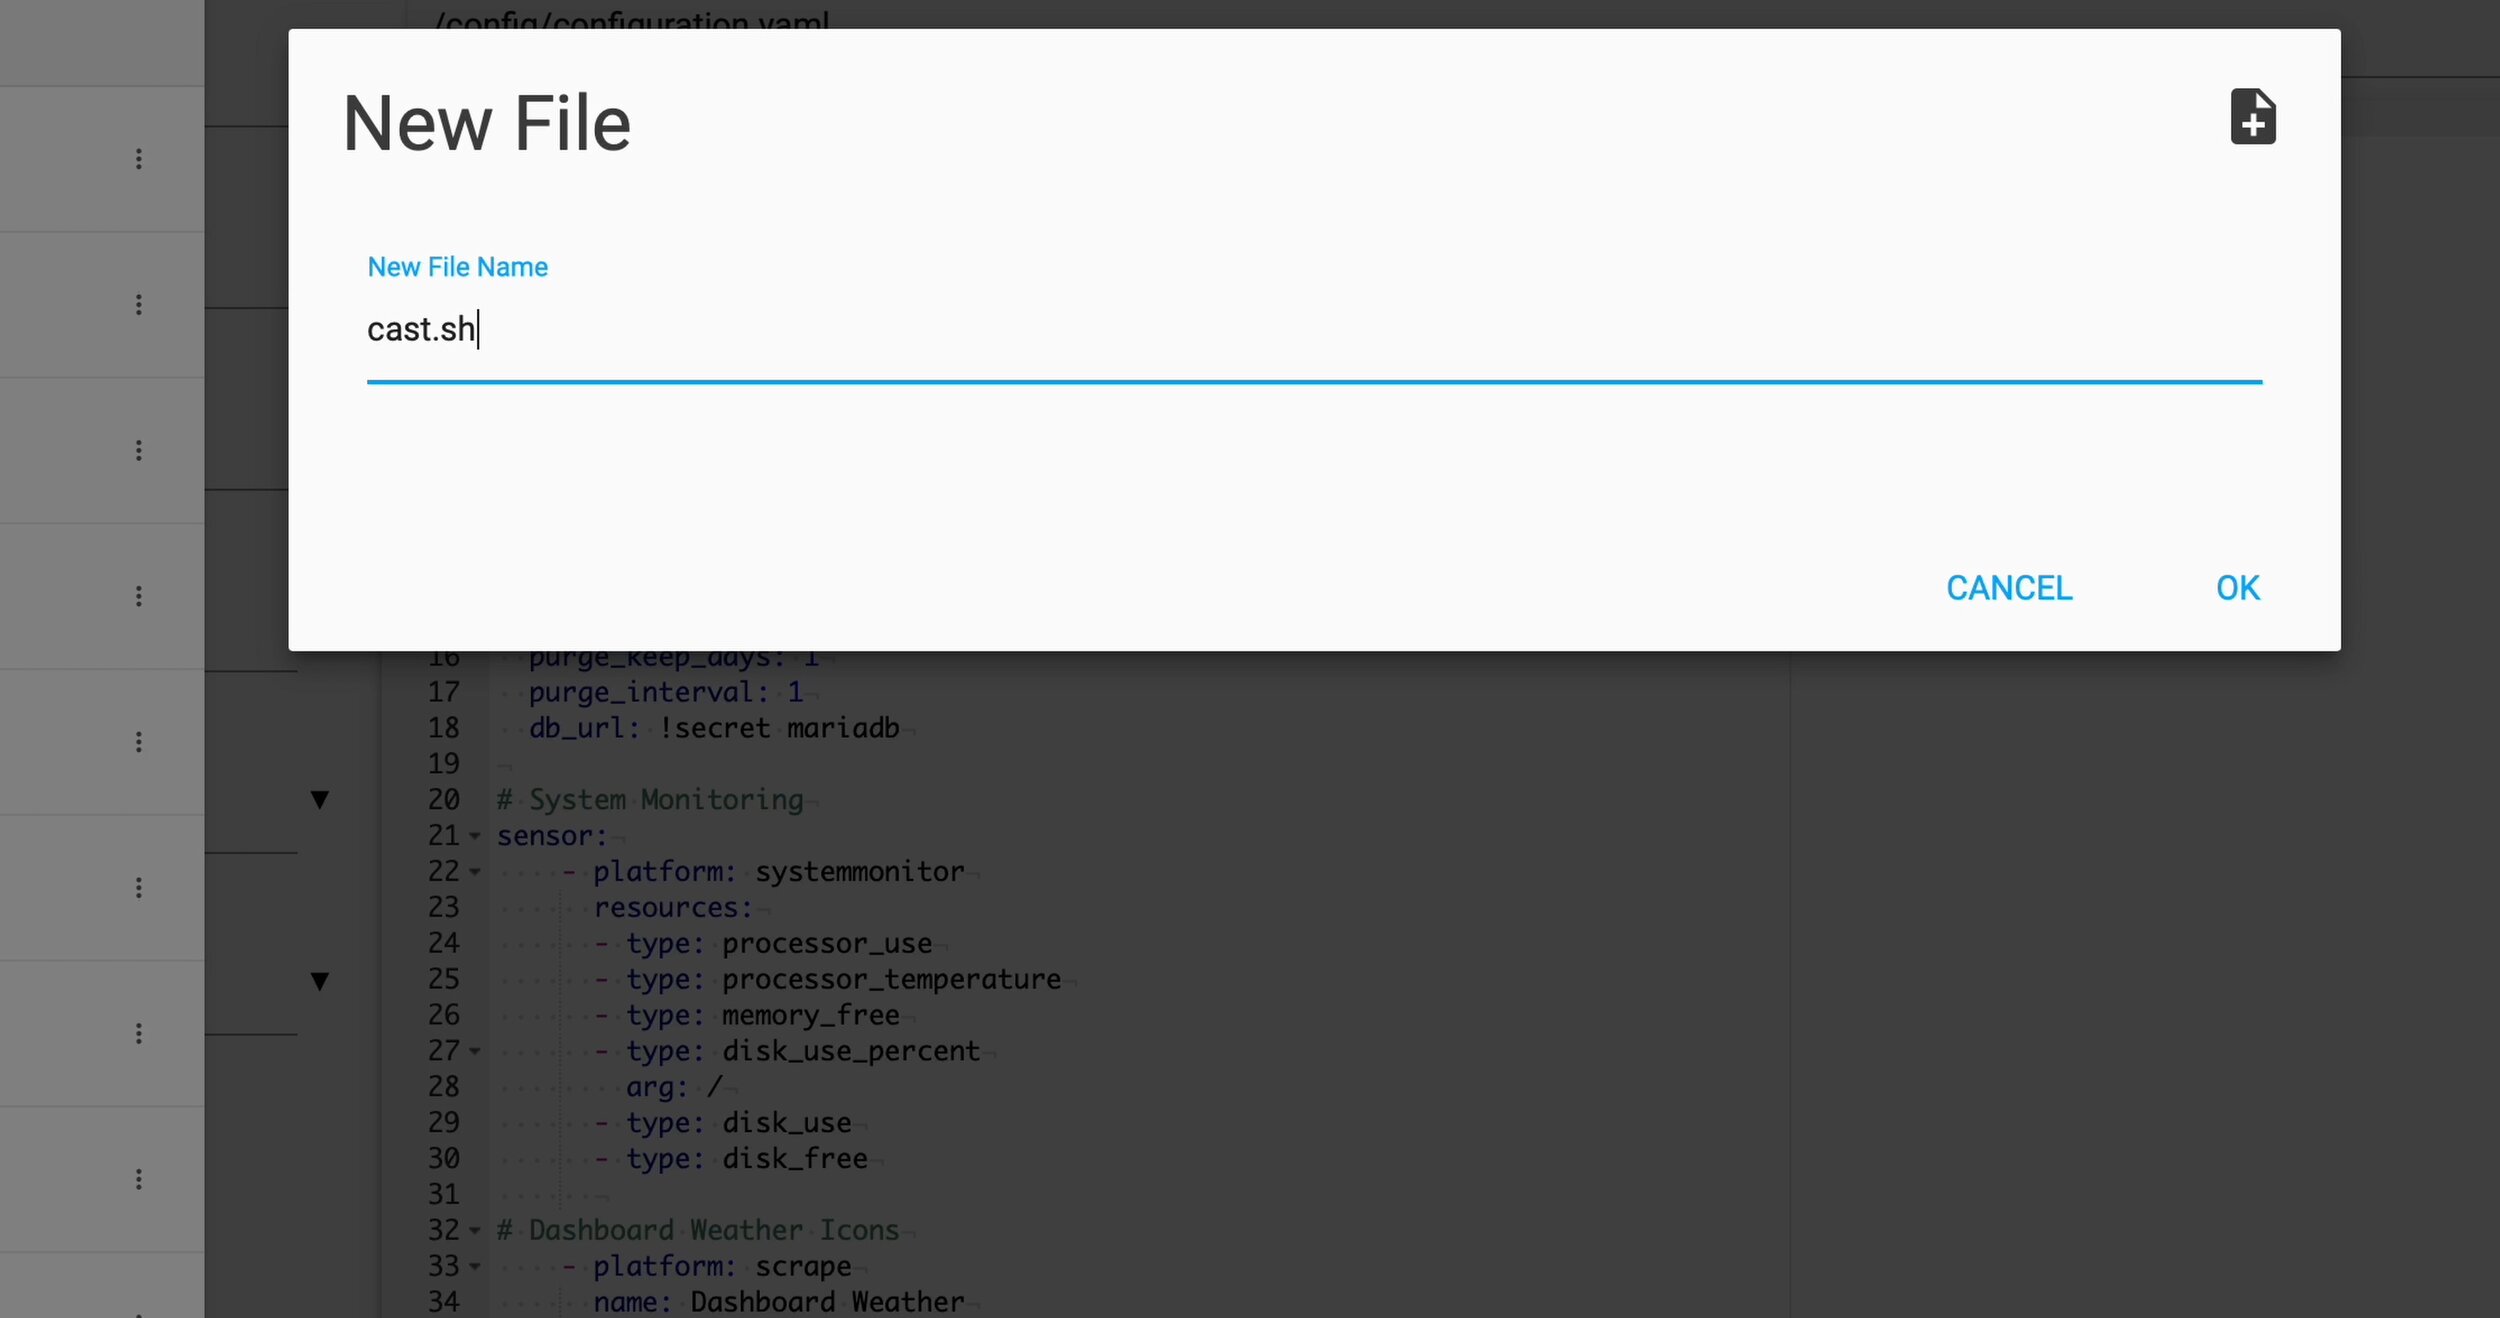
Create a new file.

Copy this code into the file, renaming your cast device and your Lovelace LAN address.
if ! catt -d "Cast display" status | grep 'PLAYING'; then
catt -d "Cast display" volume 0
catt -d "Cast display" cast_site http://lovelace
fi
This turns the volume down on your chrome cast device if you find the beep annoying when the casting starts.

Create a new automation.
Set mode to “Restart”
Set trigger type to “Time Pattern”
In the minutes slot, put “/10”
This will trigger the automation on every 10 minutes of the hour (1:00, 1:10, 1:20, etc.)

For action type, select “Call Service”
The service is “Home Assistant Supervisor: Write data to add-on stdin”
For add-on, select “SSH & Web Terminal”
The press the menu button and select “Edit in YAML”

Add this line at the end, locating to the file you created earlier.
input: bash “your file location”
Test your automation and everything should work correctly.
If you have any questions, feel free to leave a comment in the YouTube video or check out these other helpful guides I found: